
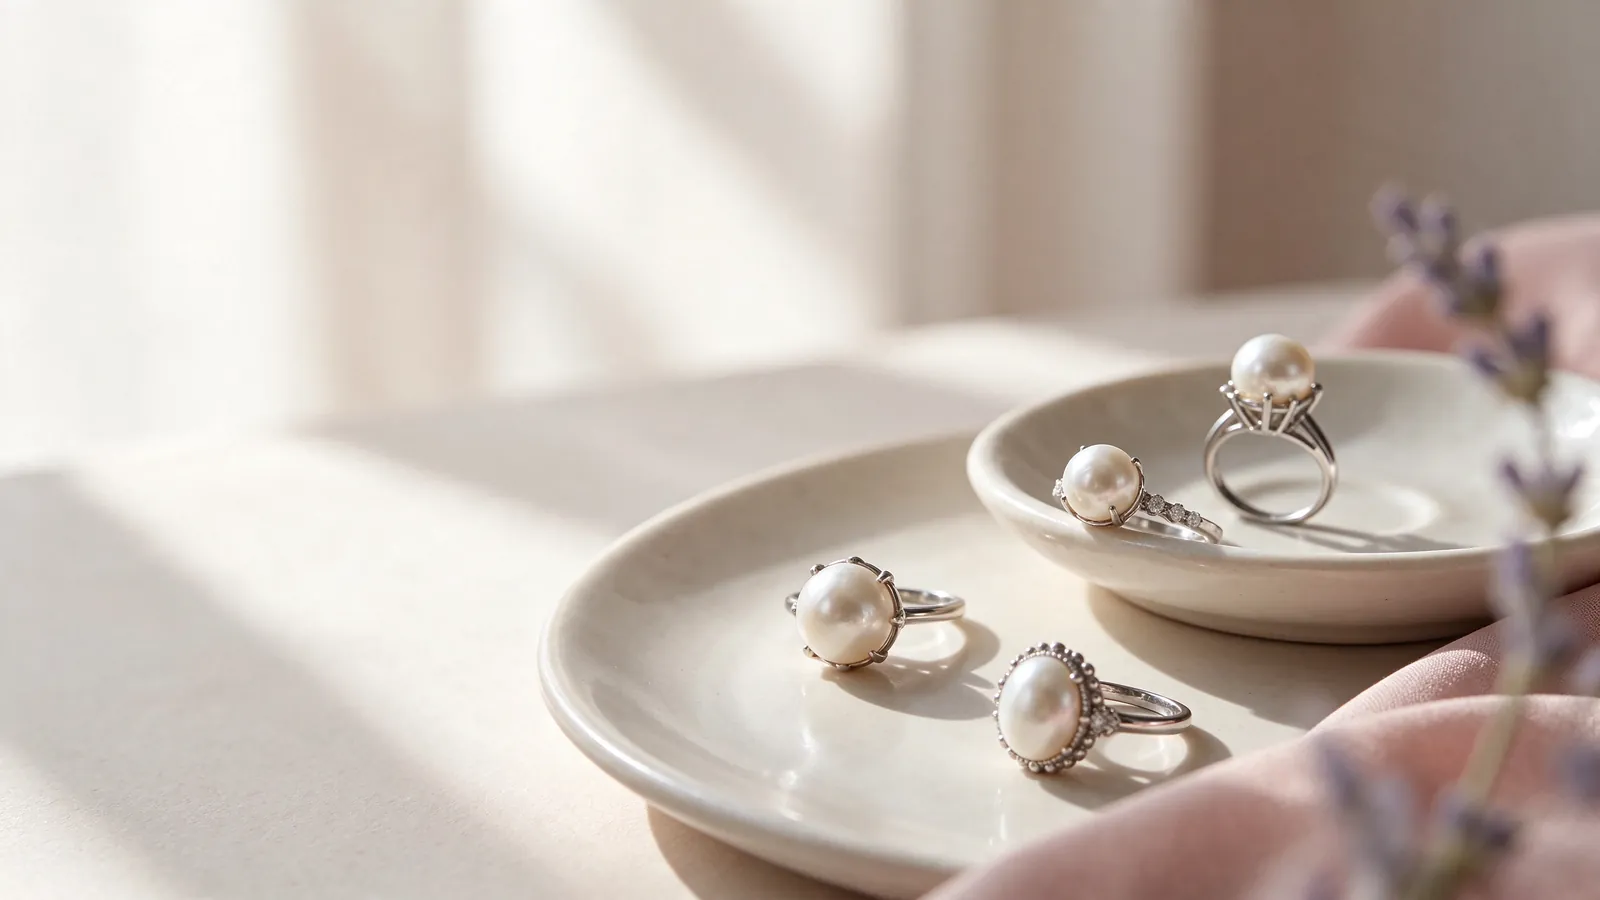
Why width and inner contour matter in wide band pearl ring sizing: a wide ring band size guide to assessing wide band ring fit
A broad band covers more of the finger than a slim one and can feel snugger at the same labelled size. Before choosing a pearl ring, identify the metal that actually wraps around the finger. A wide-looking setting may taper to a narrow band underneath, while another design remains broad all the way round. Those are different fitting conditions, even if their front views look equally substantial.
Decide which hand and finger you intend to use before comparing sizes. Note whether your comfortable existing ring is narrow or wide and whether you wear it alone. The guide to how to measure ring size helps organise the basic measurements, but the reading should be paired with a trial band resembling the intended design. A familiar size label cannot describe band width or inner contour.
Checking wide band ring fit over the knuckle: the trial-fit step in a wide ring band size guide for wide band pearl ring sizing
Separate the fitting into two checks: passing the knuckle and resting at the finger base. Use gentle movement rather than force, then straighten and lightly bend the finger. A ring that goes on is not necessarily comfortable in use. Notice persistent pressure, edges pressing during bending, or a setting repeatedly turning towards the palm before settling on a size.
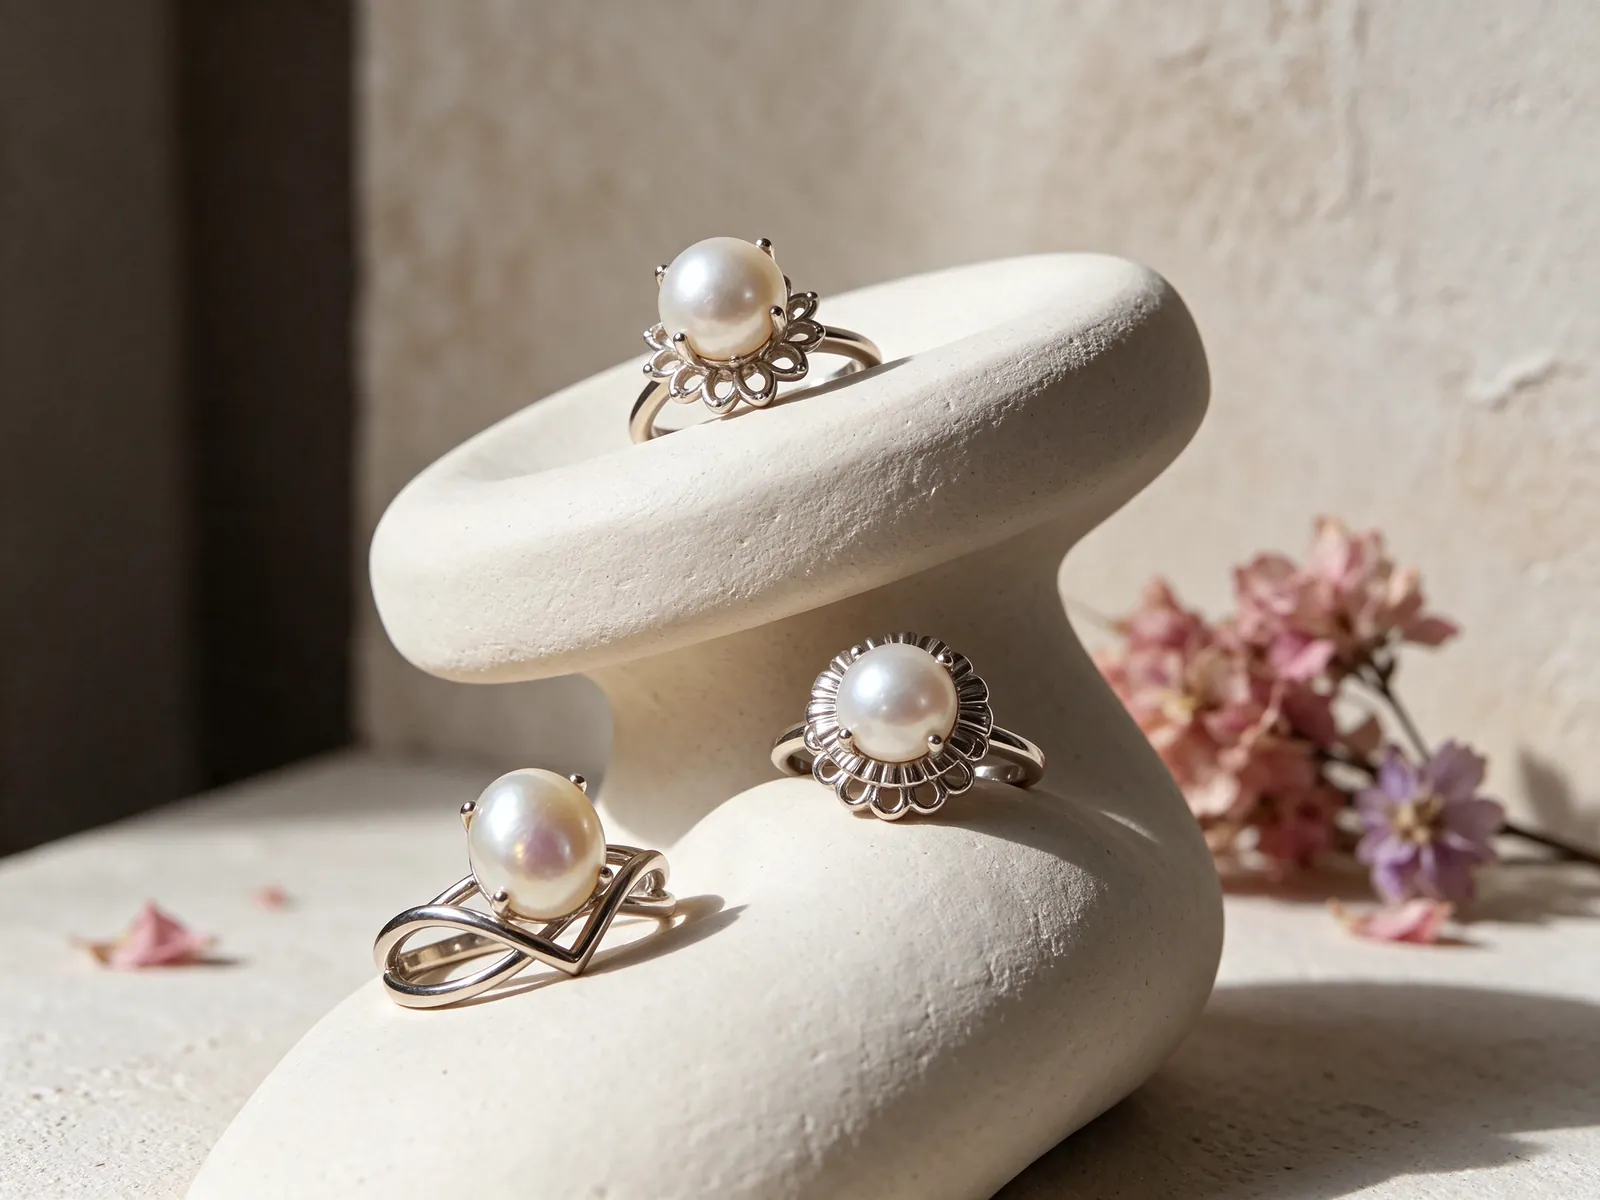
Distinguish a broad pearl setting from a broad band
Pearl size and band size answer different questions. The pearl contributes to the visual scale of the ring; the inner band determines how it encircles the finger. Look at the side and underside as well as the top. Does the band narrow towards the palm, and can neighbouring fingers sit naturally beside it? A photograph of the face alone cannot resolve those fitting questions.
When comparing a single pearl ring with a more substantial band, consider how the setting stays upright and how the metal meets the finger. Distinguish the visual scale of the pearl from the ring's inner circumference. Keep those measurements separate in your notes so that a preference for a prominent pearl does not become an unsupported assumption about the required ring size.
Check the palm-side width during ordinary movements
Turn the hand over and gently curl the fingers. A broad palm-side section may feel different when holding a pen or a phone than when the hand is flat. Compare designs on the same finger with the same movements. Switching fingers between trials makes it harder to tell whether a change in comfort comes from the ring or the hand.
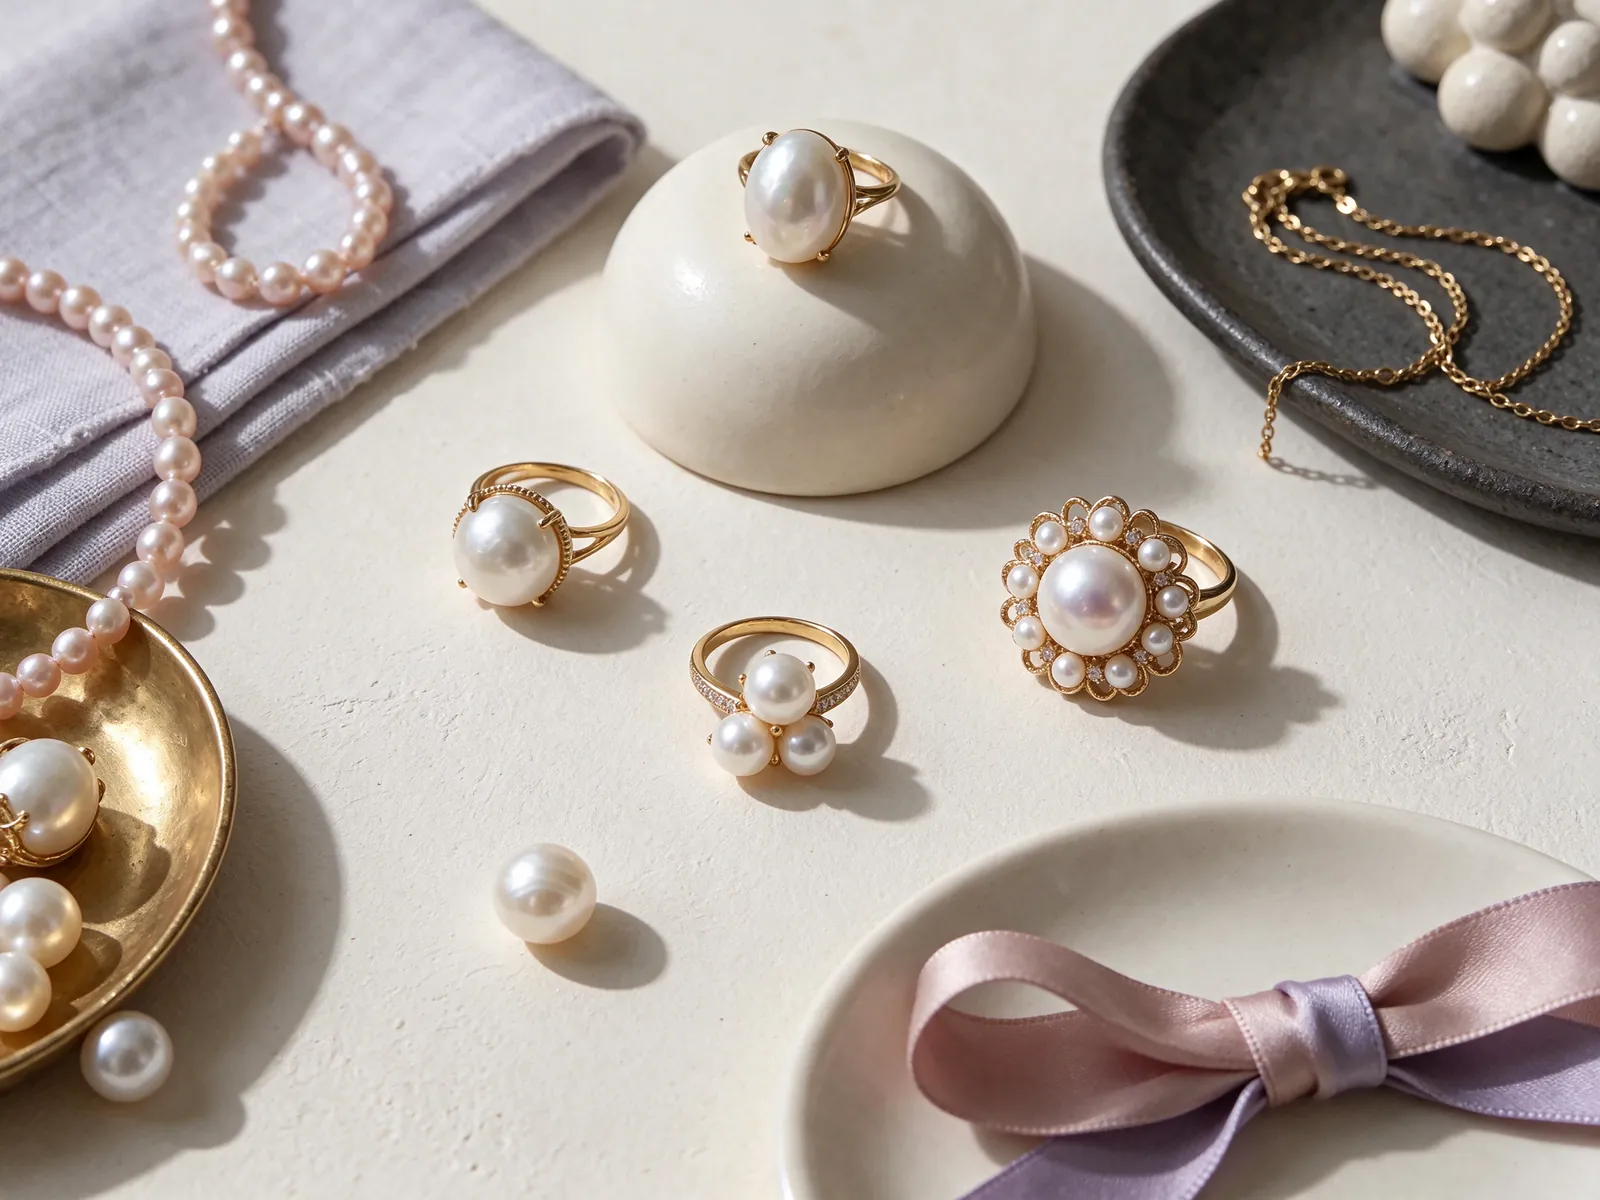
Compare the inner contour as well as the size label
A flatter inner wall and a more rounded inner contour can contact the finger differently. Neither description establishes a universal sizing correction. Width, contour, thickness and the position of the edges should be considered together, particularly where the knuckle is more prominent than the finger base. A rounded inside is not a reason to automatically choose a smaller size.
A slim measuring ring may help establish a starting point, but it is a limited substitute for a broad trial band. Where possible, compare nearby sizes in a width and profile close to the intended ring. Record what you tried, rather than saving only the final number. That context explains why another ring carrying the same size may feel different later.
Assess contact and movement, not just a temporary mark
A mark after removal does not tell the whole fitting story. More useful observations include whether pressure persists while wearing, whether an edge catches when bending, whether removal is manageable and whether the setting remains reasonably positioned. If the trial is difficult, stop rather than forcing it past the knuckle or using the pearl as a handle.
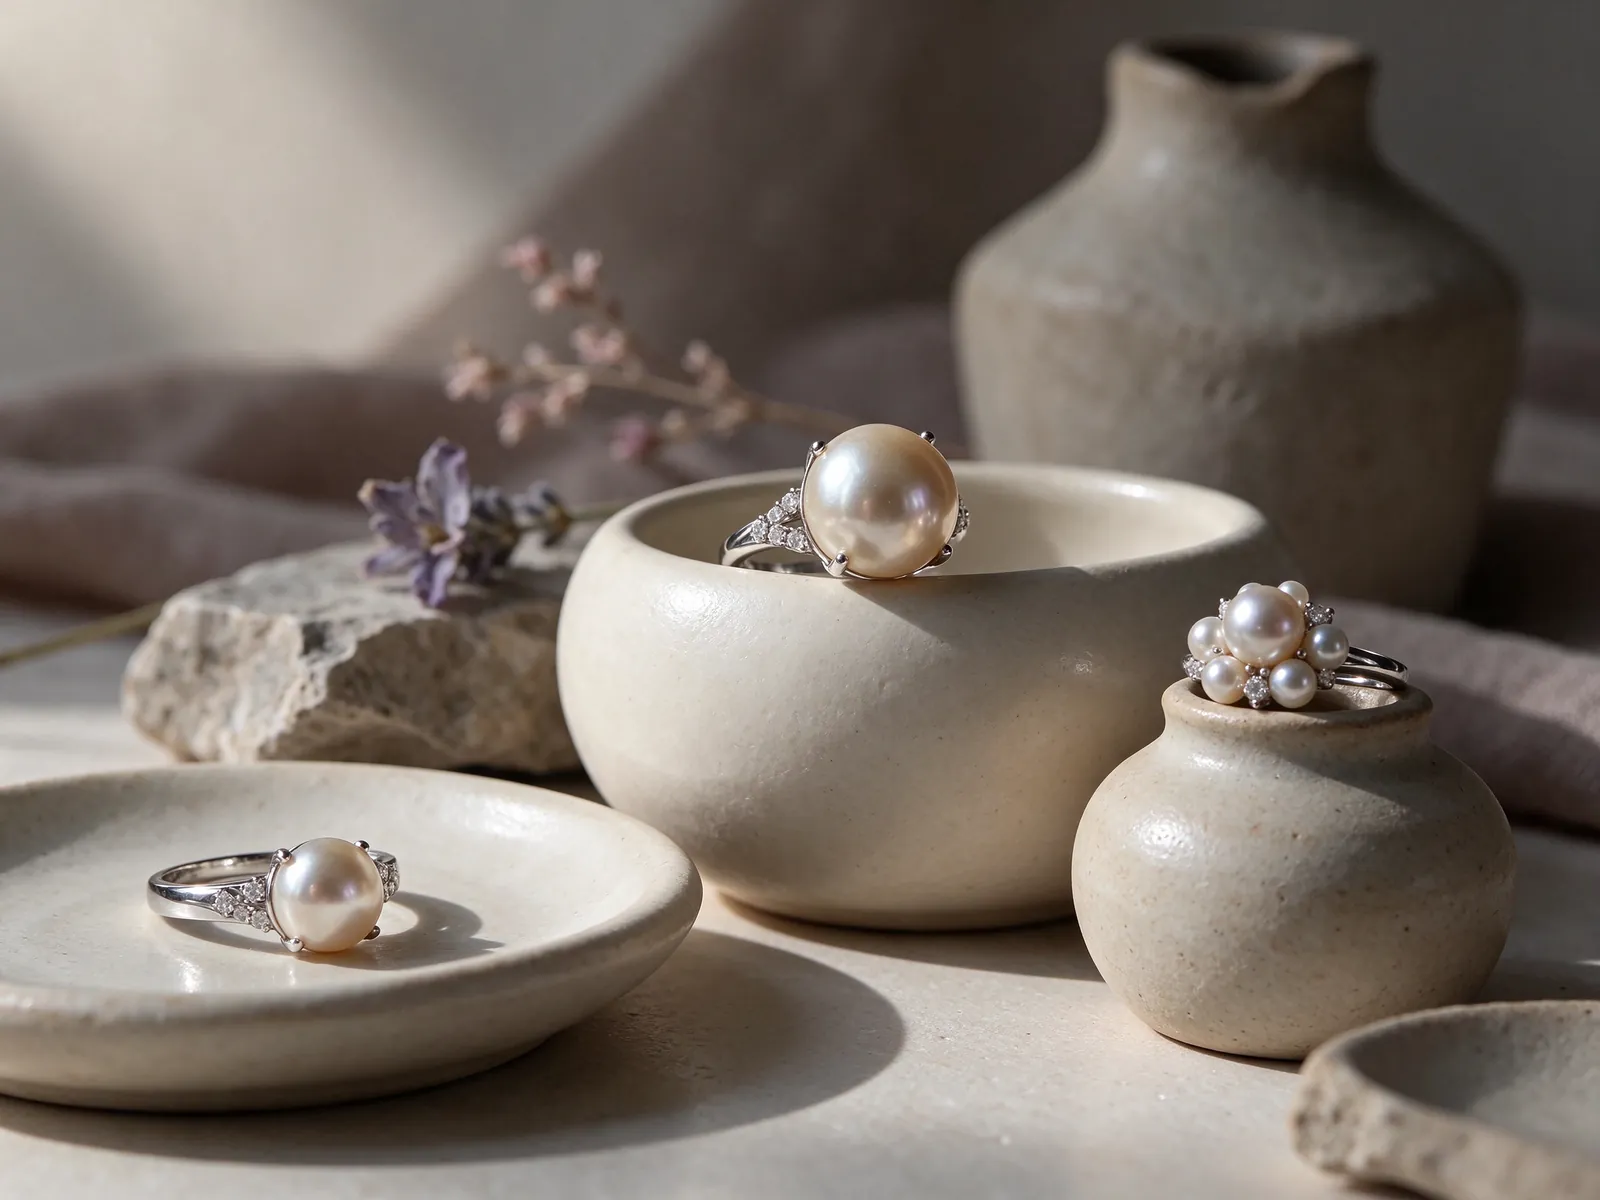
Allow for the intended hand and normal changes through the day
Finger size can vary slightly with swelling and time of day, and the dominant hand may be a little larger. Avoid treating one reading taken in an unusual state as the whole answer. Compare the fit in circumstances that resemble your usual wearing routine and note when it feels tighter or looser. Do not transfer the result automatically to the same-named finger on the other hand.
For office wear, try the movements you actually make: writing, typing and holding a phone. For an evening outfit, consider holding a glass, cutlery and a handbag strap. The aim is not simply the closest possible fit when the hand is still. You want the band to allow relaxed movement while keeping the pearl setting reasonably stable on its intended finger.
Keep a short, useful fitting record
Write down the finger, approximate time, trial-band width, size system and separate impressions of putting on, wearing and removing the ring. If it is usually loose but occasionally tight, increasing the size may worsen rotation. Compare the contour and wearing arrangement first. Equally, a loose feeling in colder conditions is not sufficient reason to choose a size that is difficult to remove normally.
Keep Japanese size-step advice separate from conversion
WSP's size chart suggests considering larger Japanese sizes for wide bands. That is a prompt to account for width, not a universal formula for every pearl ring. The meaning of a size step depends on the sizing system. Before following advice to go up a size, establish whether the label uses Japanese sizing, US sizing, or a measurement of the inner circumference or diameter.
Use Japanese to US ring size conversion to understand a cross-system label, then assess width through fitting. These are separate tasks. Converting a narrow ring's size and then adding one or two full US sizes does not reproduce Japanese size-step guidance. Even two broad bands can call for different choices if their palm-side width or inner contour differs.
Describe the conditions behind your usual size
A useful description includes the size system, the hand and finger, and whether the existing ring has a slim or broad band. Mention whether it feels comfortable alone and whether it has recently felt different. This is more informative than a number without context and makes it easier to choose an appropriate trial band for the proposed design.
Try stacks together and do not treat an opening as a sizing shortcut
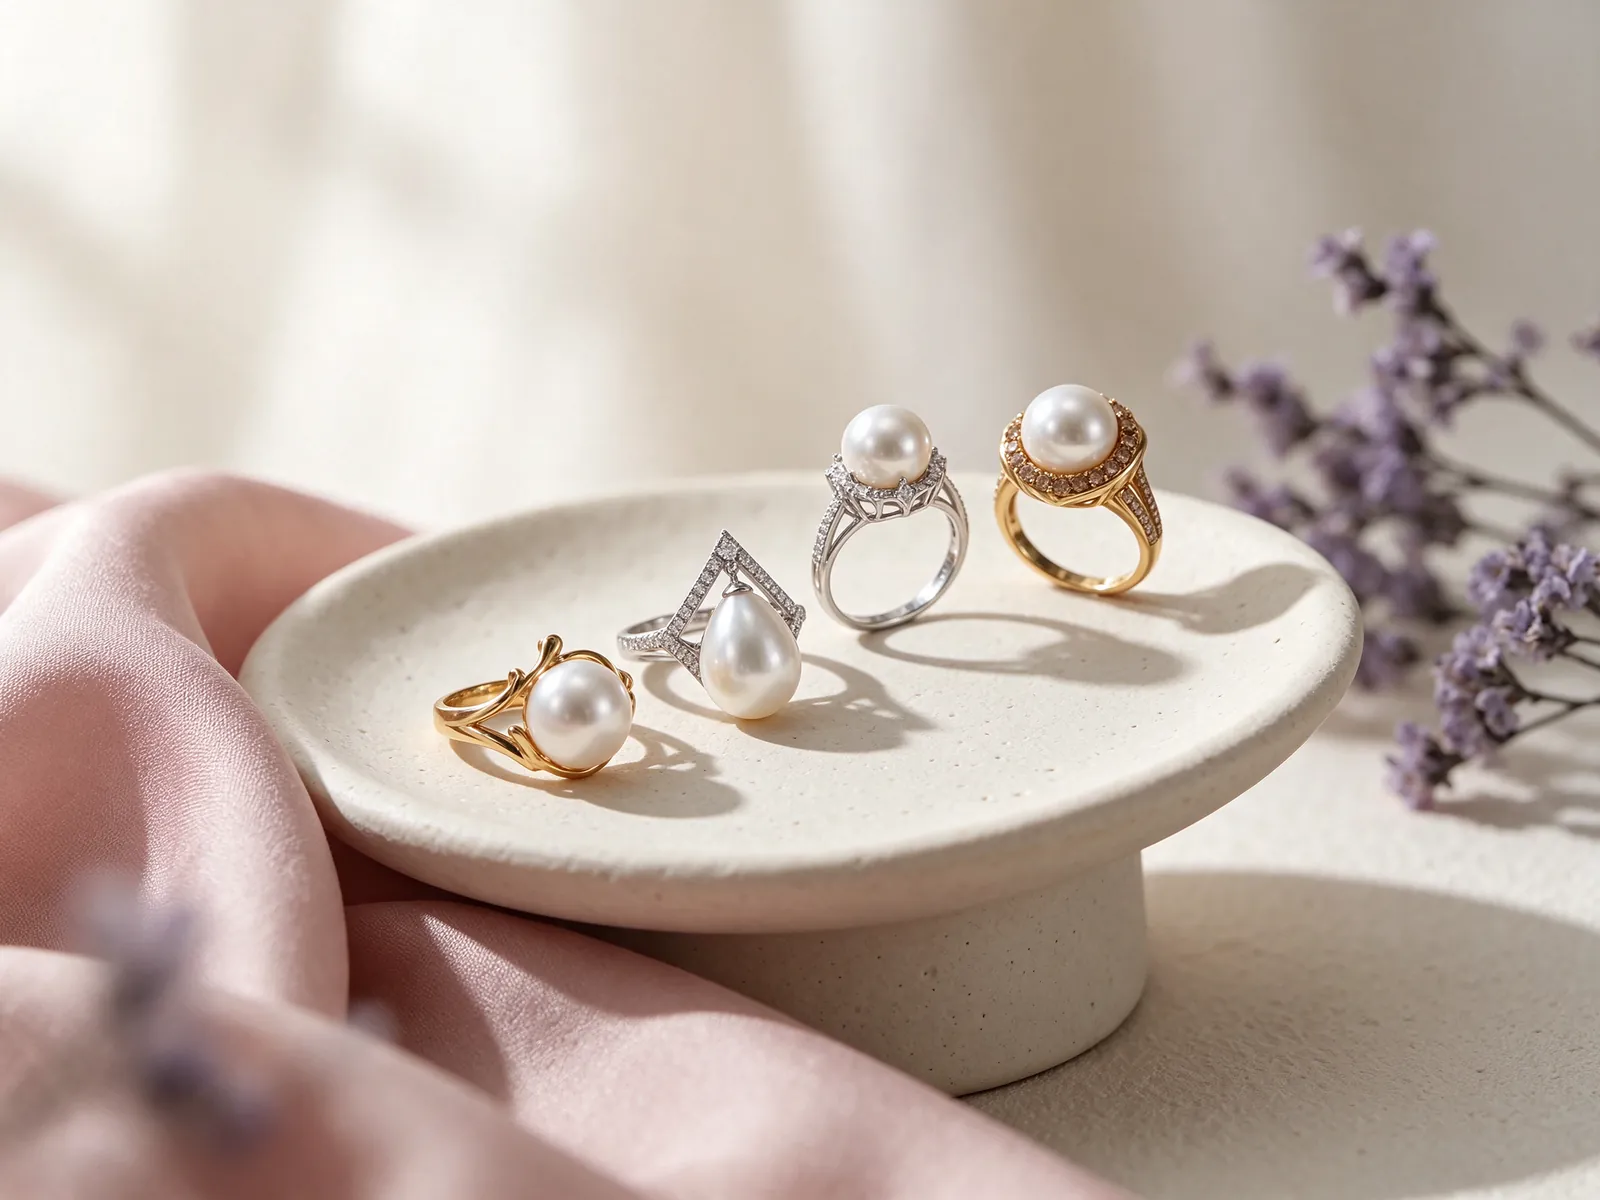
Two individually comfortable rings may feel crowded on the same finger. With pearl stacking rings, test the complete arrangement, including the combined area covered at the finger base and the positions of the settings. If discomfort appears only after adding a companion ring, change the arrangement or move one ring to another finger before assuming the pearl ring itself needs a larger size.
The question are open pearl rings adjustable needs a structural answer, not an assumption based on appearance. An opening may be part of the styling rather than permission to bend the ends repeatedly. The setting and pearl position also matter. Do not pull an open ring wider to compensate for a snug broad band; establish what adjustment the particular design permits before considering a change.
Let a broad pearl ring remain the focal point
Start by wearing the broad ring alone, then add a slim companion only if there is comfortable space. Separate fingers can preserve the layered look without increasing coverage on one finger. In a same-finger stack, inspect whether a neighbouring metal edge touches the pearl or lifts the setting. A neat front view should not take priority over clearance and natural hand movement.
Turn the trial fit into clear design preferences
Summarise the conditions that worked: the intended finger, palm-side band width, preferred inner contour and whether the ring will be worn alone. Include any repeated rotation of the pearl setting. If a size large enough for the knuckle remains loose at the base, compare a different band profile rather than choosing between two unsatisfactory sizes solely by their labels.
Handle the metal band when putting on or removing a pearl ring. GIA lists pearl at 2.5 on the Mohs hardness scale, a useful reminder to treat its surface gently. This number is not a sizing rule or an impact rating. It is relevant during a broad-band trial because extra effort should not be transferred to the pearl by gripping it as a handle.
Discuss the actual design before relying on later resizing
Bring these observations to a conversation with Flint Jewellery about width, inner contour and the intended finger. Choose the initial fit thoughtfully rather than treating future resizing as the solution to an uncertain purchase. The pearl position and ring structure can affect how a design is handled. A clear discussion of the size arrangement helps align the appearance with everyday wearing habits. Contact Flint Jewellery on WhatsApp at +85260106207 to share your fitting notes and discuss the band width and inner contour you would like to compare.
| Observation | What to compare | Trial movement | Misleading shortcut | Practical next step |
|---|---|---|---|---|
| Band width | Continuous width or a tapered underside | Bend fingers and bring them together | A broad face always requires a larger size | Use a similar-width trial band |
| Inner contour | Flatter or rounded contact and edge position | Relax the hand after putting the ring on | The same label means the same feel | Compare nearby sizes in a similar profile |
| Knuckle and base | Clearance versus resting fit | Put on and remove with gentle movement | Going on proves a good fit | Look for persistent pressure or rotation |
| Size system | Japanese, US or measured inner dimensions | Confirm the label before trial fitting | Japanese steps equal full US steps | Separate conversion from width assessment |
| Stacking | Combined coverage and setting clearance | Try the whole stack while holding a pen | Individual comfort guarantees stacked comfort | Change the combination or separate fingers |
Pearl knowledge and authoritative references
GIA lists pearl at 2.5 on the Mohs hardness scale. Handle the metal band during fitting rather than using the pearl as a grip; the hardness value does not determine ring size or resistance to impact.
Read the reference for this factFrequently asked questions
Should I order a broad pearl ring one size above my slim ring?
Not automatically. Use the slim ring as a starting point, confirm its size system and compare a trial band of similar width and inner contour to the intended ring. Knuckle clearance and comfort at the finger base matter more than a fixed increase.
Does a prominent pearl mean I need a larger ring size?
No direct sizing rule follows from pearl size. Examine the metal wrapping around the finger, including the underside. A prominent setting may need attention to stability and neighbouring-finger clearance, but pearl diameter and inner ring dimensions are separate measurements.
What if the ring passes my knuckle but keeps turning at the base?
Do not immediately reduce the size, as a smaller ring may become difficult to pass over the knuckle. Compare band contour, width and setting proportions, and repeat the trial in normal wearing conditions to understand the difference between knuckle and base.
Can I use my single-ring size for an evening stack?
Try the full stack. Combined coverage and contact between settings can alter comfort even when each ring fits alone. Moving a companion ring to another finger may be more suitable than enlarging the main ring for an occasional arrangement.
Is it all right to pull the pearl when a wide ring feels difficult to remove?
Use the metal band rather than the pearl as a handle and avoid force. If removal is already difficult during a trial, stop and compare another size or contour. Protect the pearl from neighbouring hard edges as well as from pressure during handling.
Updated: